Damp Walls, Salt-Stained Plinth: Retrofit Damp-Proofing
A damp wall is not a cosmetic flaw you can paint over. If the source of the moisture is not eliminated, even the most expensive renovation is ruined within two years.
Plaster coming away, white efflorescence on the plinth and a musty smell are among the most common starting points when renovating an old house. The solution, however, is neither "waterproof paint" nor a quick re-plastering. First you have to find out where the water is coming from.
Key takeaways
- A damp wall has four main causes: rising ground moisture, poor rainwater drainage, a burst pipe and condensation.
- The solution depends on the cause – with the wrong diagnosis even the best technology is ineffective.
- For rising ground moisture, wall cutting and chemical injection are the two proven retrofit methods.
- After damp-proofing the wall has to dry out; the damaged plaster must be replaced with breathable, salt-resistant plaster.
- Tiling and painting can only follow once the wall has dried out.
Where does the moisture come from?
| Cause | Telltale sign | First thing to do |
|---|---|---|
| Rising ground moisture | An even damp band above the floor up to a height of 0.5–1.5 m, salt efflorescence | Installing the missing horizontal damp-proof course |
| Rainwater | Patches along downpipes, the pavement and the slope of the ground; worse in rainy weather | Gutters, downpipes, ground level, slope of the pavement |
| Burst pipe, leak | A localised patch that does not depend on the weather | Inspection of the pipework, pressure test |
| Condensation | In corners and beside windows, mainly in winter; mould | Ventilation, thermal bridges, thermal insulation |
Several causes often appear together. In an old house, for example, the damp-proof course may be missing and the pavement may slope towards the house at the same time. That is why every solution starts with a survey and, where necessary, moisture measurement.
Retrofit damp-proofing methods
Wall cutting
The wall is cut through in sections and a waterproof sheet is placed in the slot, which is then wedged and filled. It is a mechanical, durable solution because it builds a physical barrier in the path of the rising water. Its drawbacks are the greater amount of work and the access required: work is needed on both sides of the wall, and because it is done in sections it calls for structural care.
Chemical injection
Closely spaced holes are drilled into the wall and a chemical is introduced that creates a water-repellent zone in the pores of the masonry. It involves less demolition, so it is a common choice in an occupied house or for a wall that is hard to access. Its effectiveness depends on the material of the masonry, its moisture content and the precision of the workmanship.
External vertical waterproofing and drainage
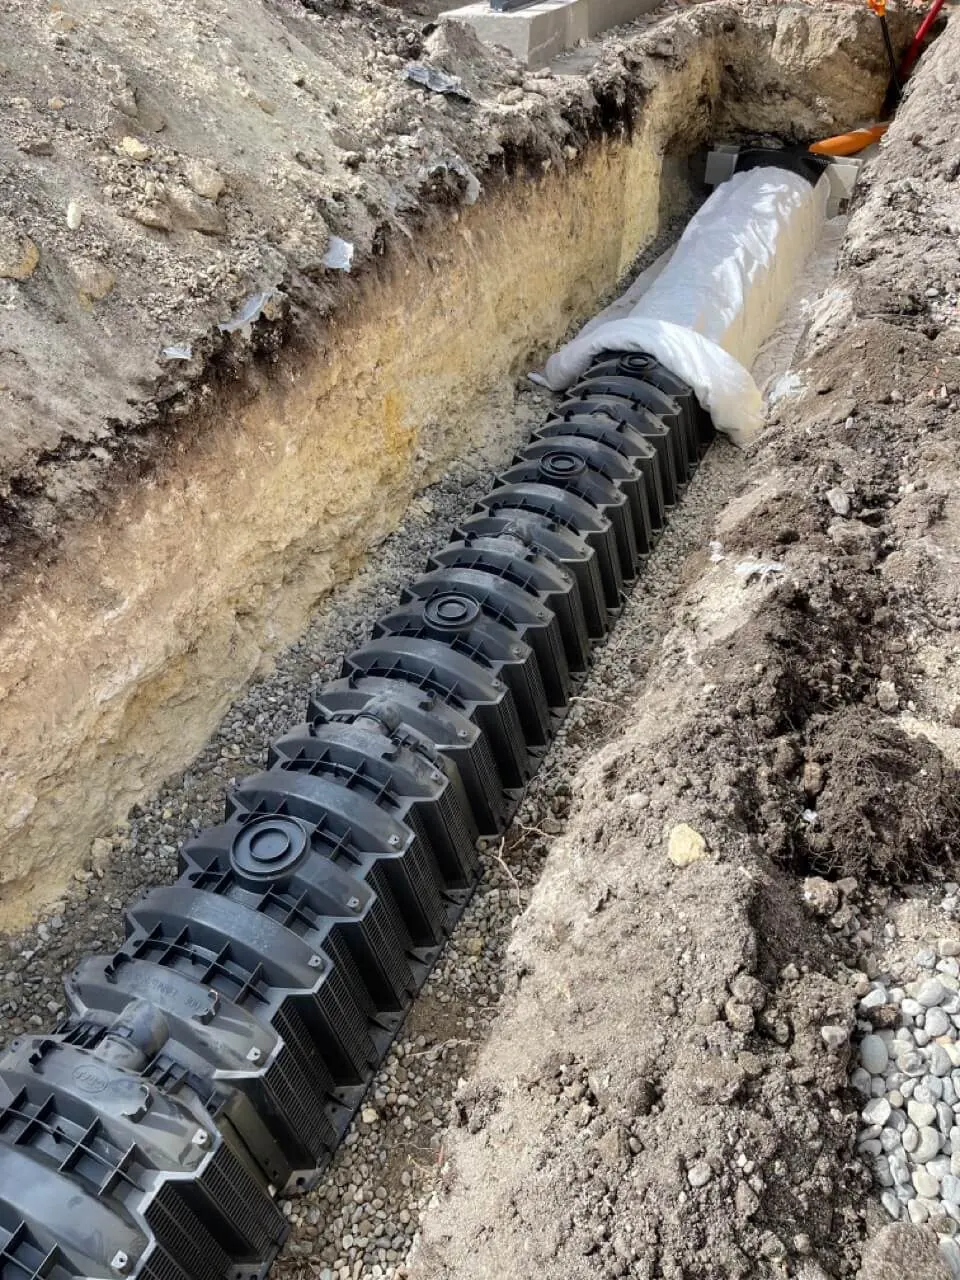
If the wall is damp below ground level too (cellar, basement), the wall has to be excavated from the outside and protected with vertical waterproofing and drainage. This means more earthworks, but for houses with a cellar it is often unavoidable.
What is not enough on its own
Waterproof paint, cement-based re-plastering and tiles on a damp wall do not get rid of the water, they only hide it. The moisture then creeps higher and comes out somewhere else. The effectiveness of electro-osmosis systems is disputed in professional circles; if you receive a quote for one, ask for a reference backed by measurement results.
On a damp wall, paint is not a solution but a timer.
What comes after damp-proofing?
- Hacking off the plaster to at least half a metre above the damp zone, removing the salty, loose plaster completely.
- Drying out. With a thick wall it can take months; heating and ventilation help, while membranes and wall coverings hinder it.
- Applying breathable, salt-resistant renovation plaster so that the remaining moisture and salt can escape.
- Surface finishing only after this: skim coating, painting, tiling.
- Putting the rainwater drainage in order outside: gutters, downpipes, the pavement sloping away from the house.
When the damp wall is part of a larger renovation
Protection against moisture is among the very first steps of a house renovation – before thermal insulation, tiling and the building services. We also set out this order in detail in our article on renovating a Hungarian "cube house". During the survey TeleHome establishes the cause of the moisture and carries out the waterproofing and thermal insulation work together with the full renovation, in a single schedule. Ask for an on-site survey.
Frequently asked questions
Why are there salt deposits on the walls of my house?
The white efflorescence is salt left behind by groundwater rising into the wall. It almost always points to a missing or failed horizontal damp-proof course, or to poor rainwater drainage.
Which is better: wall cutting or chemical injection?
Wall cutting builds a physical barrier, so it is typically more durable, but it is a bigger job. Chemical injection is gentler and is a good choice where wall cutting is not feasible. The material and condition of the masonry decide.
How long does a wall take to dry out after damp-proofing?
From a few weeks to several months, depending on the thickness of the wall and how damp it is. It is worth checking the drying by measurement before the final plaster and paint go on.
Request a no-obligation quote
On-site survey, itemised cost estimate, fixed deadline and warranty – we reply within 1 business day.
- Reply within 1 business day
- Itemised cost estimate
- Fixed price, fixed deadline, warranty
Related articles
Choosing a Renovation Company in Budapest: 12 Questions Before You Sign
The cheapest quote is rarely the cheapest renovation. Twelve questions worth putting to every apartment renovation company before you sign the contract.
Read more →
A Full Apartment Renovation, Week by Week
‘When can we move back in?’ The answer depends not on the tiler but on the sequence and the drying times. This is how a full apartment renovation progresses week by week.
Read more →
Renovating a Flat in an Apartment Building: Rules, Neighbours, Building Manager
A Budapest apartment renovation does not start at the front door. What lies beyond the wall (risers, main walls, facade, stairwell) belongs to the building. What has to be arranged before the first hammer blow?
Read more →