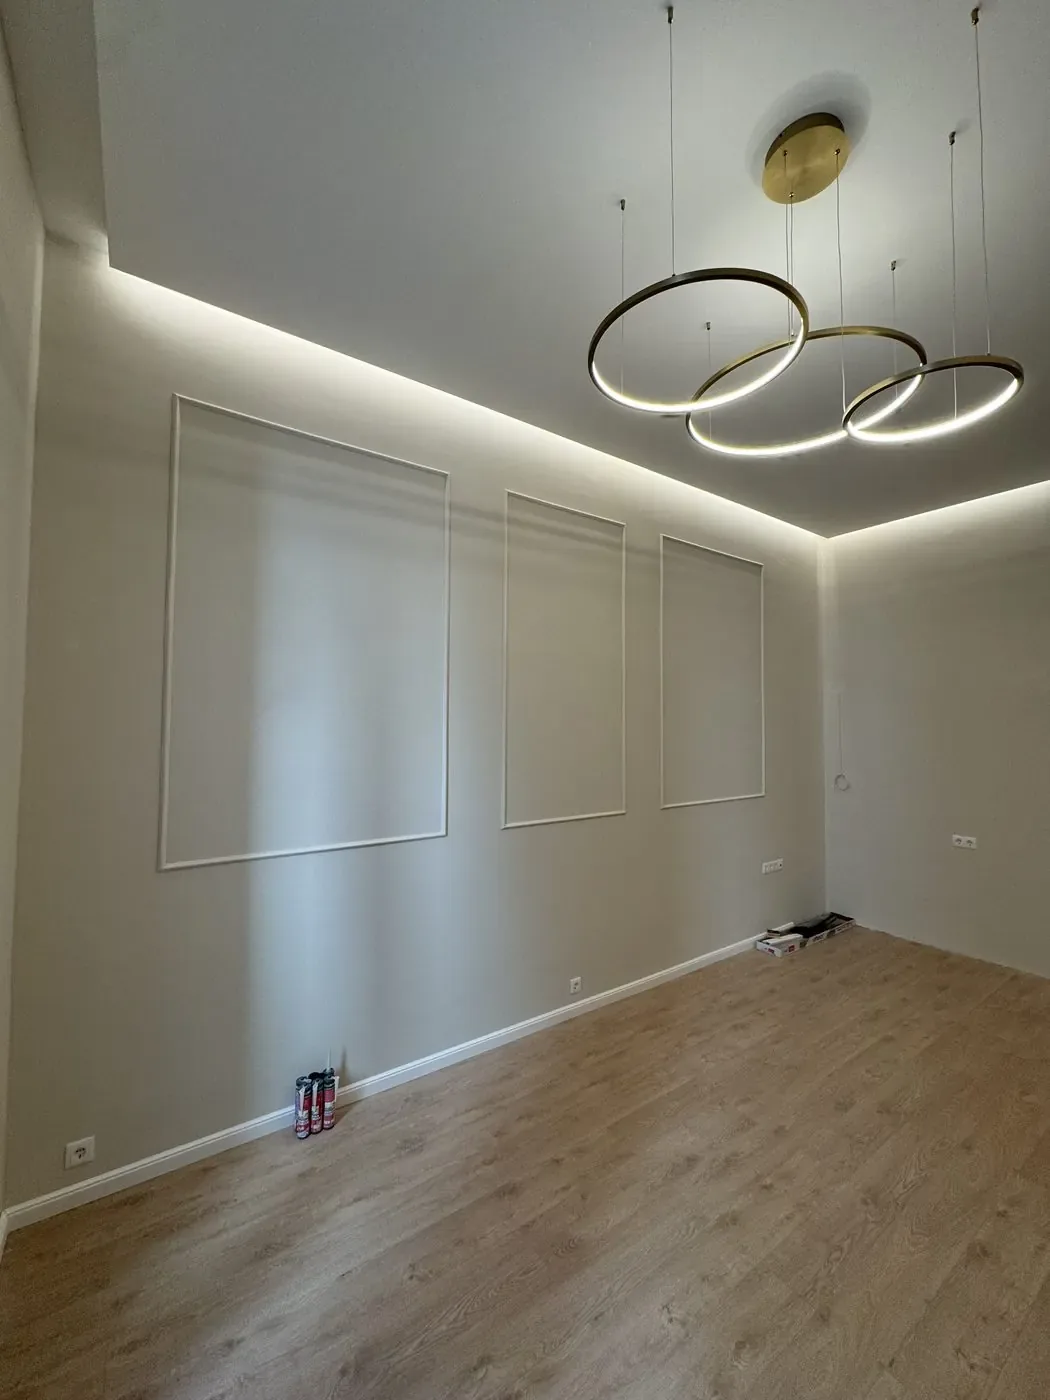
Facade Insulation on a Family House: System, Thickness, Pitfalls
Facade insulation is the best-paying part of a family-house renovation – but only if it is built as a system: from matching materials, thick enough, thought through from the plinth to the eaves.
Facade insulation is the best-paying part of a family-house renovation – but only if it is built as a system: from matching materials, thick enough, thought through from the plinth to the eaves. We go through the materials, the thickness, the layers and the supporting works without which even the most expensive insulation is a half-finished job.
Everyone knows that facade insulation is something you "need". Fewer people know that the result depends not on the material but on the system and the details: the bonding area, the anchoring, the mesh, the reveals, the plinth and the flashing work. None of these is visible on the finished facade – but their faults are, a few years later: cracking render, mouldy reveals, dowel spots showing through on a frosty wall.
This article is about retrofitting facade insulation on masonry family houses (brick, YTONG, and the block walls typical of cube houses) with a bonded-and-anchored (ETICS) system – the most widespread solution in Hungary.
Summary
- Facade insulation is a certified system: adhesive, insulation board, anchors, mesh-reinforced base coat, primer and decorative render – components made to work together.
- The two main materials are EPS (graphite polystyrene) and mineral wool; the plinth needs XPS or plinth EPS.
- On an old, uninsulated wall a thickness of 15–20 cm is typically worth it today; for the 30% energy-saving target this has to be demonstrated by calculation.
- Decide on window replacement before insulating – afterwards it can only be done properly by breaking things open.
- The flashing work (sills, gutters, wall cappings) is part of the system: a thicker wall needs longer sills and a rebuilt gutter.
EPS or mineral wool? And what goes on the plinth?
| Material | What it is for | Advantages | What to watch |
|---|---|---|---|
| Graphite EPS | The general surface of the facade | Good insulating performance, favourable price, light | Can deform in the sun – after bonding, shade with mesh or cover it quickly |
| White EPS | The same, where the advantage of graphite is not needed | Cheapest | A thicker layer is needed for the same performance |
| Mineral wool | Fire barrier strips, taller buildings, vapour-permeable walls (e.g. old, mixed masonry) | Non-combustible, vapour-permeable, good sound insulator | More expensive, heavier, more sensitive to moisture during installation |
| XPS / plinth EPS | Plinth, below-ground and near-ground zone | Does not absorb water, frost-resistant, high strength | On the plinth it cannot be replaced with facade EPS |
Two practical rules. First: the plinth is a separate zone. Because of splashing water and snow, a waterproof material (XPS or plinth EPS) and a water-repellent plinth render are needed up to at least 30–50 cm above ground level – facade EPS gets soaked here and comes away. Second: we do not mix brands. The adhesive, the mesh, the primer and the decorative render are certified together as a system; with the "cheapest of everything, from different manufacturers" approach, the warranty is the first thing to go.
How thick should it be?
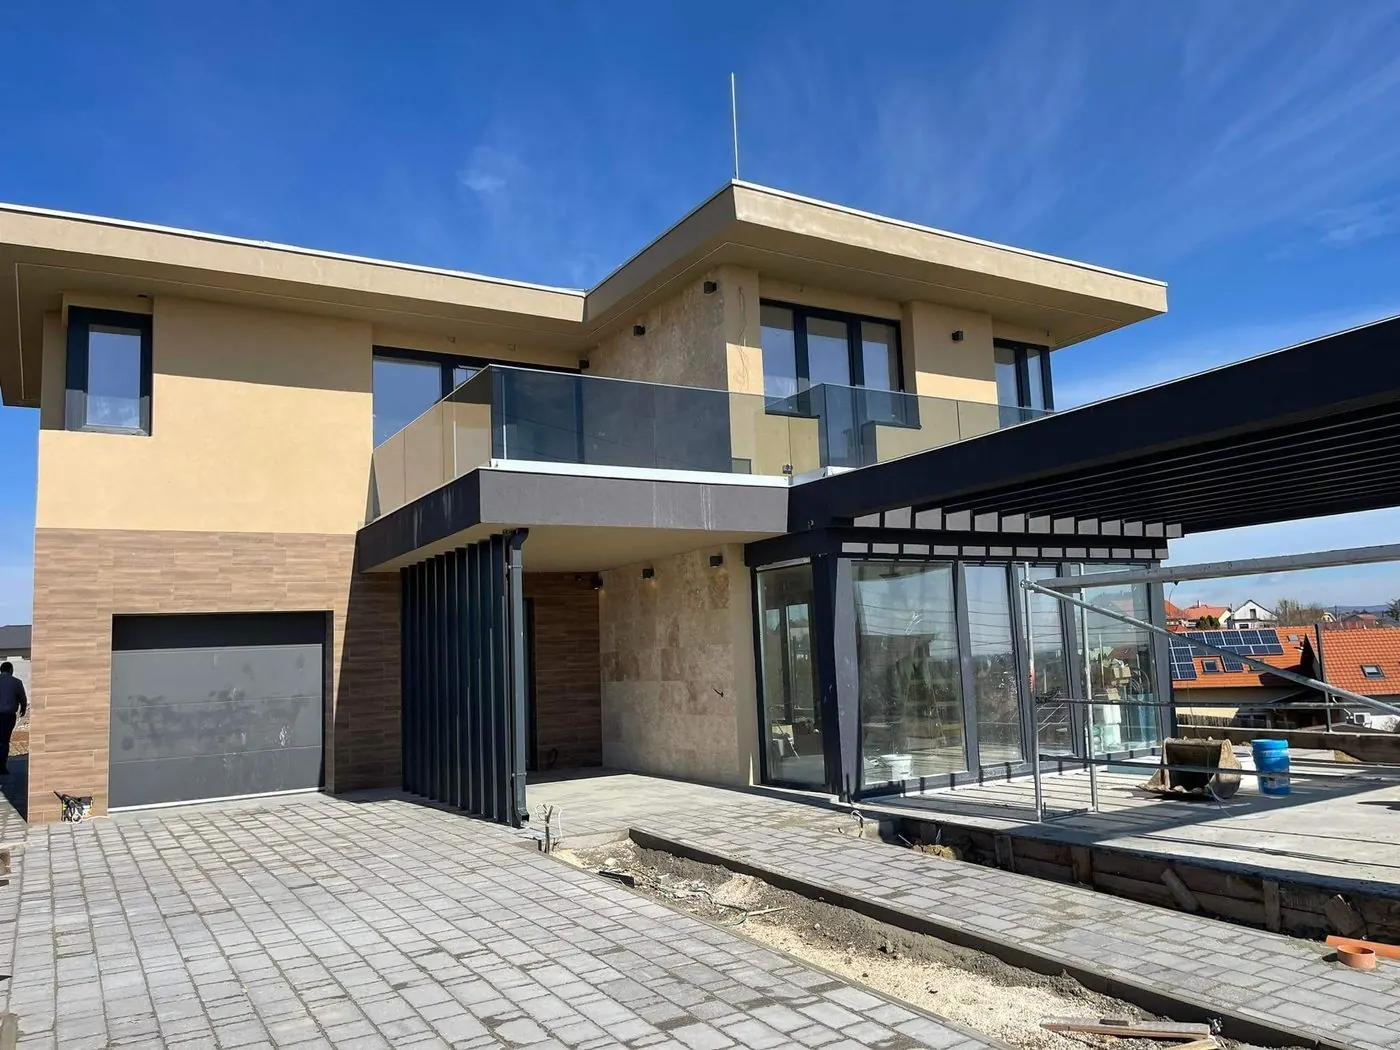
The thickness is decided by calculation, not habit: the wall material and thickness, the target energy level and the heating system together. Indicative rules of thumb for old, uninsulated walls with graphite EPS:
| Wall | Typically recommended thickness |
|---|---|
| 38 cm small-format solid brick (old houses) | 16–20 cm |
| 30 cm block brick / B30 (cube houses) | 15–18 cm |
| 25–30 cm later masonry block | 14–16 cm |
| Modern masonry, new build | As sized by the designer |
Two things are worth keeping in mind. The price of a thicker board is only a small part of the total system cost – the scaffolding, labour, adhesive and render cost the same at 12 and at 18 cm. That is why adding thickness later is never worth it, while sizing it correctly up front is. The other: the announced condition of the Wekerle Plusz energy grant is an energy saving of at least 30% – demonstrating this requires an energy calculation, which also gives you the thickness.
The layers of the system – how a good facade is built
- Preparation and scaffolding. Facade insulation is done from scaffolding – from a ladder you can neither bond boards straight nor skim the surface properly. The scaffolding has to be set at a distance that suits the insulation thickness, and it stays for the whole job (typically 3–6 weeks). Loose, crumbling render has to be knocked off, surfaces with algae washed, and large unevenness levelled; the load-bearing capacity of the wall can be checked with a bonding test.
- Starter track and plinth. The system starts from a horizontal, levelled starter profile. XPS goes into the below-ground and splash zone, and the plinth is finished with a double layer of mesh and a water-repellent plinth render (e.g. a synthetic-resin-bound rubbed render).
- Bonding. The boards have to be bonded using the edge-and-dab method, with at least 40% bonding area, staggered and without gaps. Gaps must be filled not with adhesive (thermal bridge!) but with the same insulation material or PU foam.
- Anchoring. Once dry, the mechanical fixing follows: typically 6 plate anchors per m², more densely at the edges. The anchor has to suit the masonry (solid brick needs a different one from hollow block); a recessed anchor capped with an EPS plug does not show through the finished surface (no "dowel spots" in winter).
- Corner beads, drip profiles, reveals. Mesh corner beads go on every corner, drip profiles above the openings, and 45° diagonal mesh at the corners of the windows – most cracks are decided at this step. The reveals (the wall section around the window) also have to be insulated, with at least 2–3 cm, otherwise a thermal bridge and mould remain around the opening.
- Mesh (base coat). Glass-fibre mesh goes over the whole surface, embedded in base-coat mortar, with at least 10 cm overlap, free of bubbles and wrinkles. The mesh should run in the outer third of the layer – mesh "pinned dry to the wall and then plastered over" is faulty work. This layer gives the system its tensile strength.
- Primer and decorative render. Once the base coat is dry, a primer tinted to the colour follows, then the thin decorative render: silicone- or silicate-bound, 1.5–2 mm grain, in a scraped or rubbed texture. Silicone render is water-repellent and gets less dirty – which is why, in the long run, it is more popular than acrylic render. Only choose a very dark colour on EPS with the manufacturer's approval (heat load).
On the facade it is the decorative render you see – but the house stands or falls on the bonding, the anchors and the mesh.
Weather and timing
The adhesive, the base coat and the decorative render all work well between +5 and +25–30 °C; not in frost and not in blazing sun. The best period is spring and early autumn. Insulating an average family house (150–200 m² of facade) completely, including the drying time of the layers, typically takes 3–6 weeks.
Related work – without which the system is not complete
- Windows and doors. If window replacement is also planned, it should happen before the insulation, ideally so that the new frame sits on the outer plane of the wall or in the plane of the insulation – that way the insulation overlaps the frame and the reveal thermal bridge disappears. We have covered the details in a separate article: replacing exterior windows and doors.
- Flashing work. A wall that is 15–20 cm thicker needs new, longer window sills (aluminium or galvanised, with side end caps), and the gutter, the downpipes and the cappings of gables and parapet walls also need checking. Downpipes have to be removed before the insulation and refitted afterwards with new stand-off brackets.
- Eaves overhang. If the roof eaves are short, thick insulation can "outgrow" them – this has to be checked in advance and, if necessary, solved by extending the rafters or using a thinner top row.
- Fixtures. Air-conditioning outdoor unit, lights, camera, doorbell, gas pipe fixing: decide their positions before insulating, because afterwards the system may only be drilled through with special, thermal-bridge-free fixings.
- Roller shutter boxes. Without insulating or replacing old roller shutter boxes that act as thermal bridges, the worst point of the wall remains.
Common faults you can no longer see on the finished surface
| Fault | Consequence | When it shows |
|---|---|---|
| Too little bonding area, only "dabs" | Wavy surface, detachment under wind suction | First storms, 1–2 years |
| Reveal insulation left out | Mould around the windows inside | First winter |
| Wrong or too few anchors | "Dowel spots", patchy facade, detachment | 1–3 years |
| Mesh without overlap, diagonal mesh left out | Cracks at the corners and joints | 1–2 heating seasons |
| Facade EPS on the plinth | Soaked, crumbling plinth | 2–3 years |
| Short sill, old flashing | Streaky, dirty wall below the openings | First rainy autumn |
Facade insulation with TeleHome
TeleHome takes on thermal insulation as part of a house renovation or as a standalone job in Budapest and Pest County – together with window replacement and flashing work, from a certified system, with an itemised cost estimate. If you are preparing for the 2027 energy grant, we adjust the build-up to the 30% saving target at the survey. Request an on-site survey.
Frequently asked questions
Is EPS or mineral wool right for a family house?
For a family house, graphite EPS is the economical choice in most cases. Mineral wool is justified where fire protection, sound insulation or the vapour permeability of the wall (for example an old, mixed masonry wall) calls for it.
How thick should facade insulation be on an old house?
For old, uninsulated walls, 15–20 cm of graphite EPS is typically recommended, but the exact thickness comes from an energy calculation – especially if a 30% saving has to be demonstrated for a grant.
Why does the plinth need XPS?
Because the plinth is exposed to splashing water, snow and ground moisture. XPS (or plinth EPS) is closed-cell and does not absorb water – facade EPS in the same place would get soaked and come away.
How long does it take to insulate the facade of a family house?
Including scaffolding, the plinth and the flashing work, typically 3–6 weeks, depending on the weather and how articulated the facade is.
Can you insulate in winter?
Below +5 °C adhesives and renders do not cure properly, so no work should be done in frost. The best period is spring and early autumn.
Related services: Thermal, sound and waterproof insulation · House renovation and modernisation · Window and door replacement · Survey and cost estimate
Related articles: Family house modernisation: insulation · Wekerle Plusz energy renovation grant · House renovation: a complete guide
Request a no-obligation quote
On-site survey, itemised cost estimate, fixed deadline and warranty – we reply within 1 business day.
- Reply within 1 business day
- Itemised cost estimate
- Fixed price, fixed deadline, warranty
Related articles
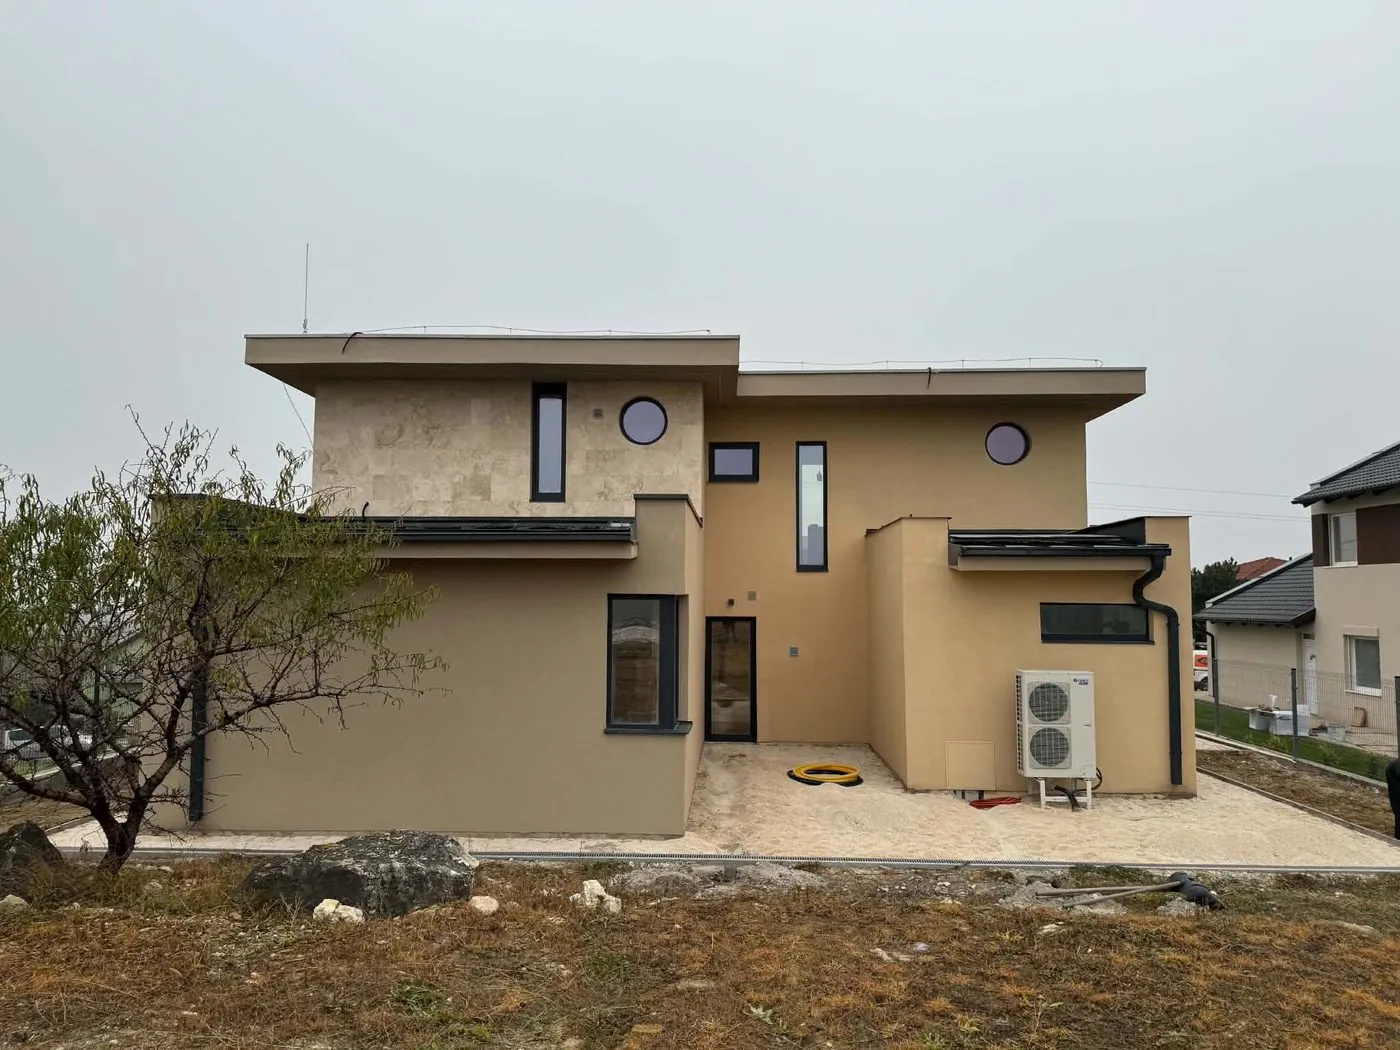
Heat Pump Heating in Houses and Flats: Types, Planning, Installation
The heat pump is today the first choice both for modernising the heating of family houses and for new builds – but it only works well as a properly sized system: with output matched to the building, suitable heat emitters…
Read more →
Replacing exterior windows and doors: from removal to sills
Replacing a window takes half a day – and yet it decides the comfort of a home for decades.
Read more →
House Renovation in and around Budapest: A Complete Guide from Modernisation to Painting
A house renovation is not one job but eight to ten interlocking trades: roof, walls, water, electrics, heating, insulation, windows and doors, solar, tiling and painting. Taken one by one, each is simple.
Read more →